
Repair & Clean a Combi Machine
This is both a "how-to" and a "why you should" article. The "why you should" is easy: it took a trained technician an hour (at $120.00 per hour) simply to clean up the group and showerscreen!

First, the machine is an Imat Mokita Combi originally purchased in 2005 and returned for repair/service in 2016.
The description of the problem was "boiler not heating, no water flowing through group.”

First thing we do is add a water tank and a drip tray, then we plug the machine in and test it using a power board with its own earth leakage circuit breaker, so if there's an electrical fault it doesn't take out the whole place.

My original diagnosis via email was a tripped over-temperature thermostat, so we took off the top and inspected it. Sure enough, as soon as we pushed the red button in it clicked, and the machine functioned normally except for squirting water everywhere from the group.
Total repair time, 5 minutes, labour cost: $11.00 including GST.

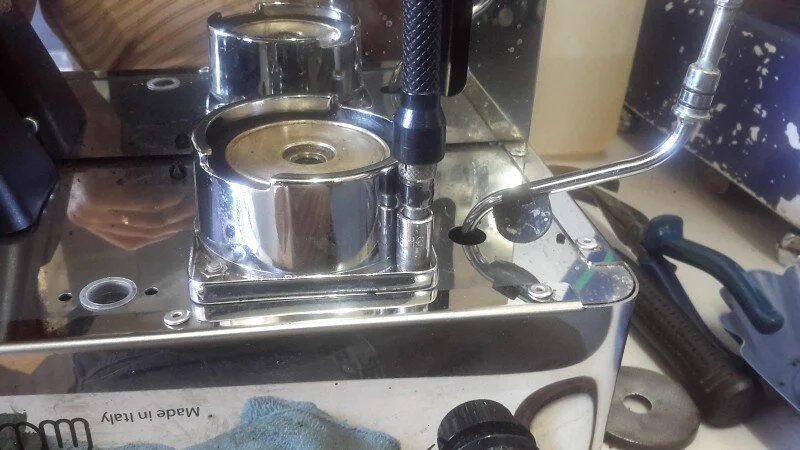
So we turned off the power, unplugged the machine and dropped the group collar.
That band of black inside the collar is an eleven year accumulation of coffee crud.
Time to turn the machine upside down, remove the showerscreen and inspect the group

Upside down and the solidified group gasket and filthy showerscreen are obvious.
First step is to remove the water distributor nut

Even with a correctly sized spanner (14mm) there is no way to budge the water distributor nut, so we use a short screwdriver and a hammer to "chisel" it anticlockwise. Brute force over finesse, but it works!

First we took off the ancient, rock solid group gasket, then after gently prying the showerscreen off, we found a 1-2 mm thick solid buildup of 11 year old crud stuck to the group.
The showerscreen itself was totally blocked, which explained the squirting water.

Cleaning the group itself is a matter of chiselling it off bit by bit using the screwdiver and the hammer.

After channeling our inner Michelangelo, eventually most of the heavy build up is gone.
The only practical way to clean the showerscreen is to burn the crud out over a gas flame, so it's sent off for that (a good ventilation or an extractor fan is needed to get rid of the smoke)

Scotchbrite, detergent and elbow grease now come into play. Every bit of crud is removed until the brass gleams.

Finally it looks like this, not bad for $120/hr plus GST.

Time to add the new group gasket and make sure it's properly seated in the groove.
The group collar is replaced, the 8 mm nuts tightened with our ground down socket spanner, then the cleaned showerscreen and water distributor nut are added. Finally the machine is righted, tank and drip tray are added and then we turn on the power and test by doing a detergent backflush to clean out the internal piping.
NOTE: When we took the top off we checked the boiler, pump, piping and steam wand for signs of leaking or corrosion, then checked again while the machine was operating. Since there were no problems we left them alone. The first rule of repair is "If it ain't broke, don't fix it!"